
Service Categories
If you wish to use Service Categories (this is an optional feature) you can set them up here so that they can be applied to each of your Services. Examples could be “Kids” “Men’s” “Pensioners” or you can group by type such as “Styles” “Beards” “Shaving” etc.
This article will walk you through the steps needed to set up your categories so that you’re ready to group your services when you add them under the Services button.
- The video below shows how to add Service Categories.
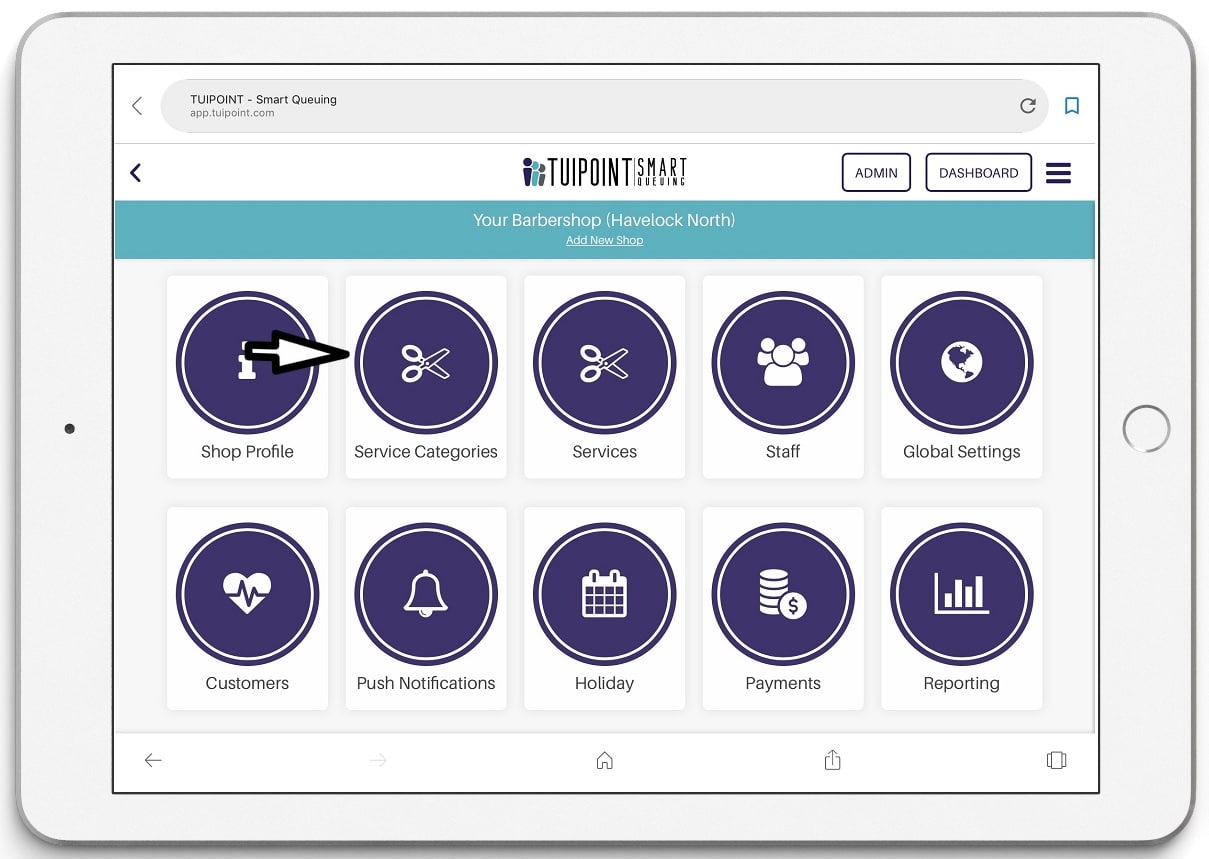
- Click “Service Categories” the next button in the Admin Panel, here you can add your categories to group your Services.
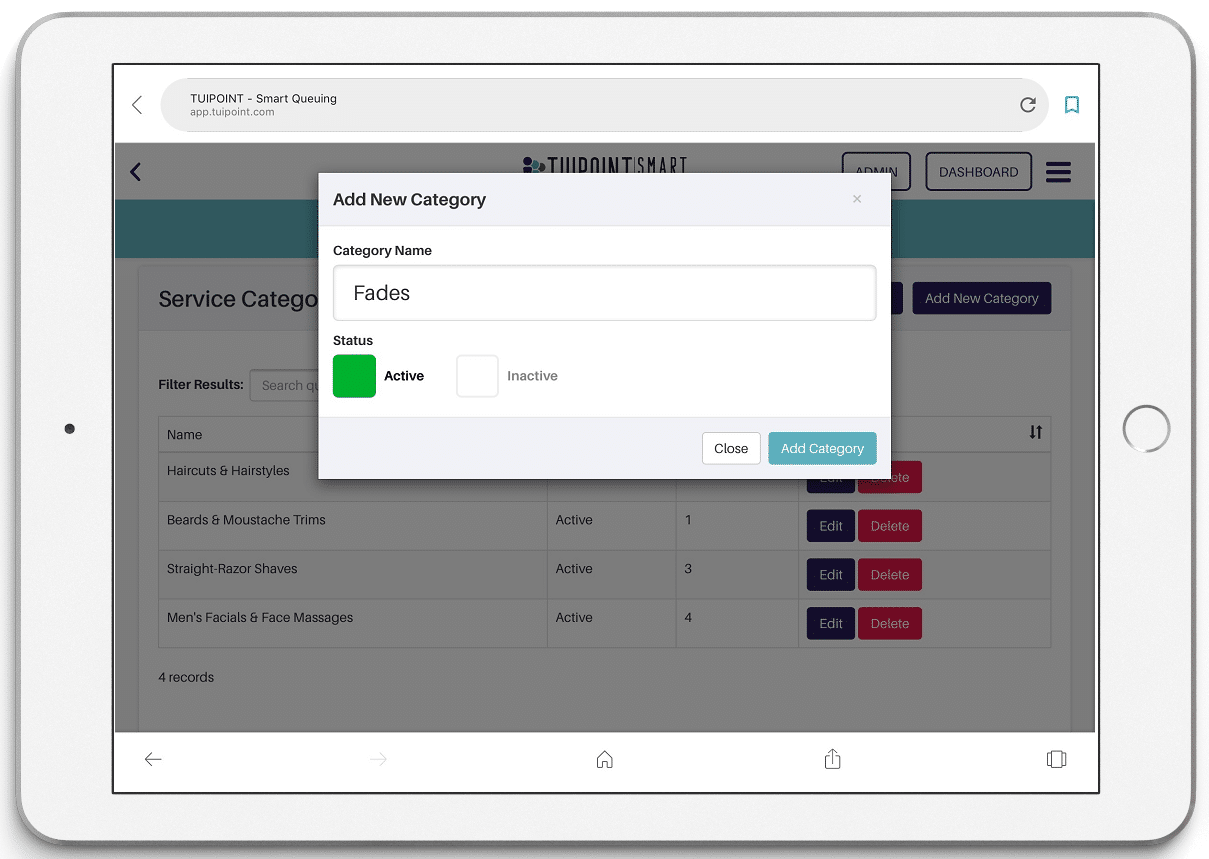
Add New Category
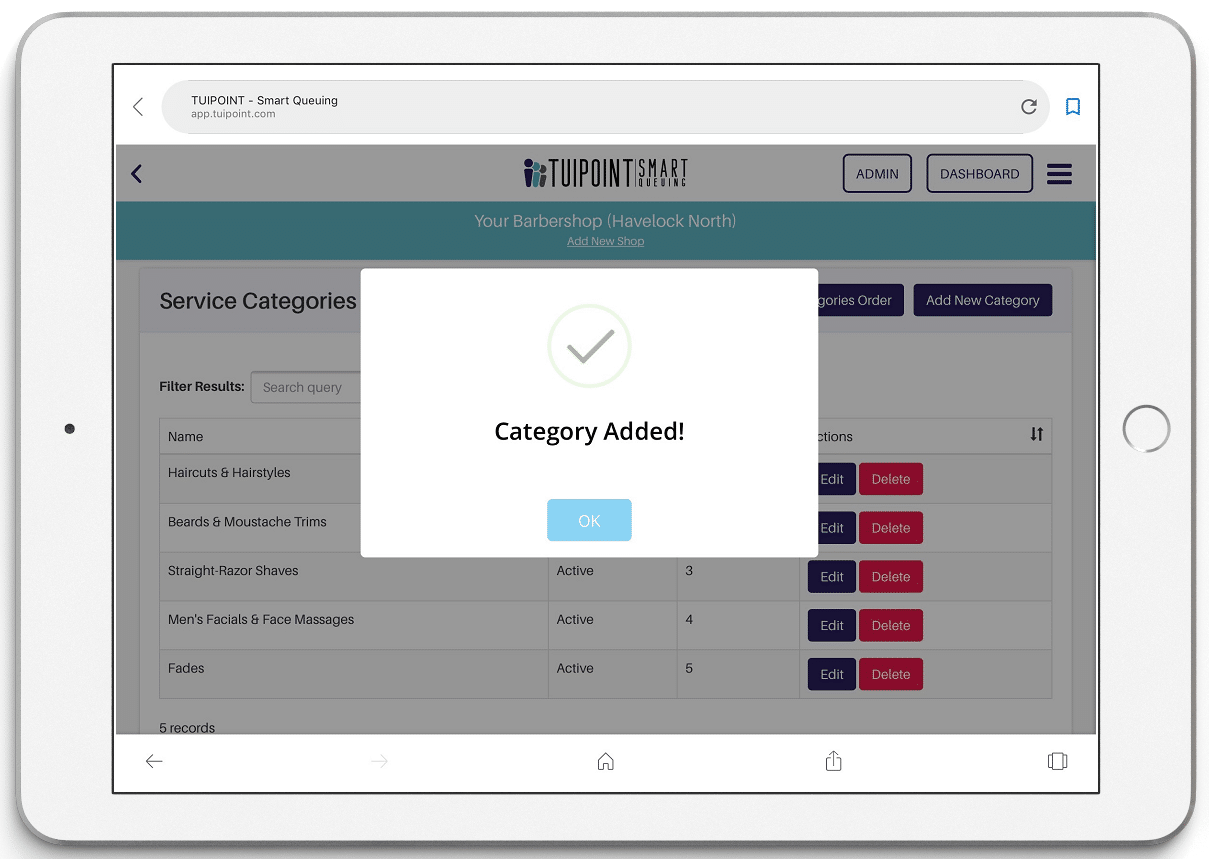
- Click the “Add New Category” button, enter the “Category Name” and click “Add Category”.
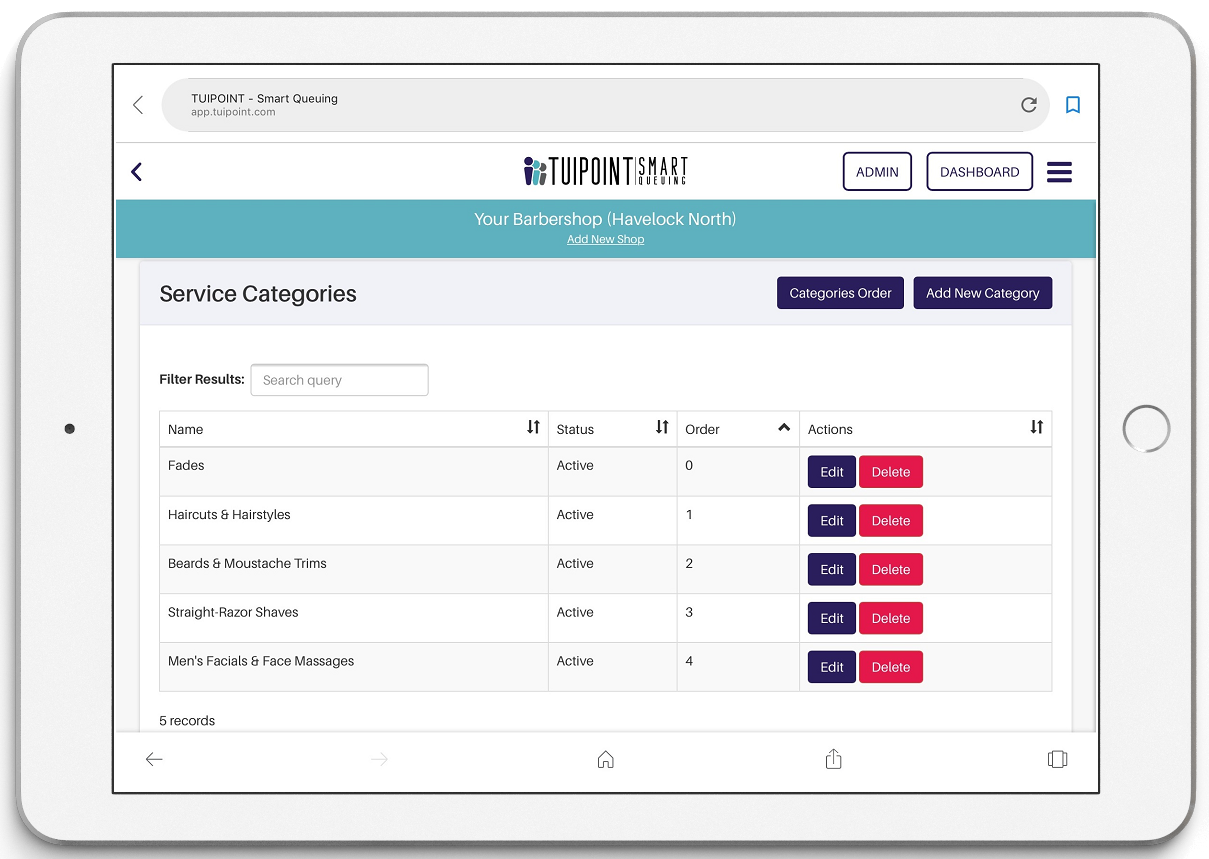
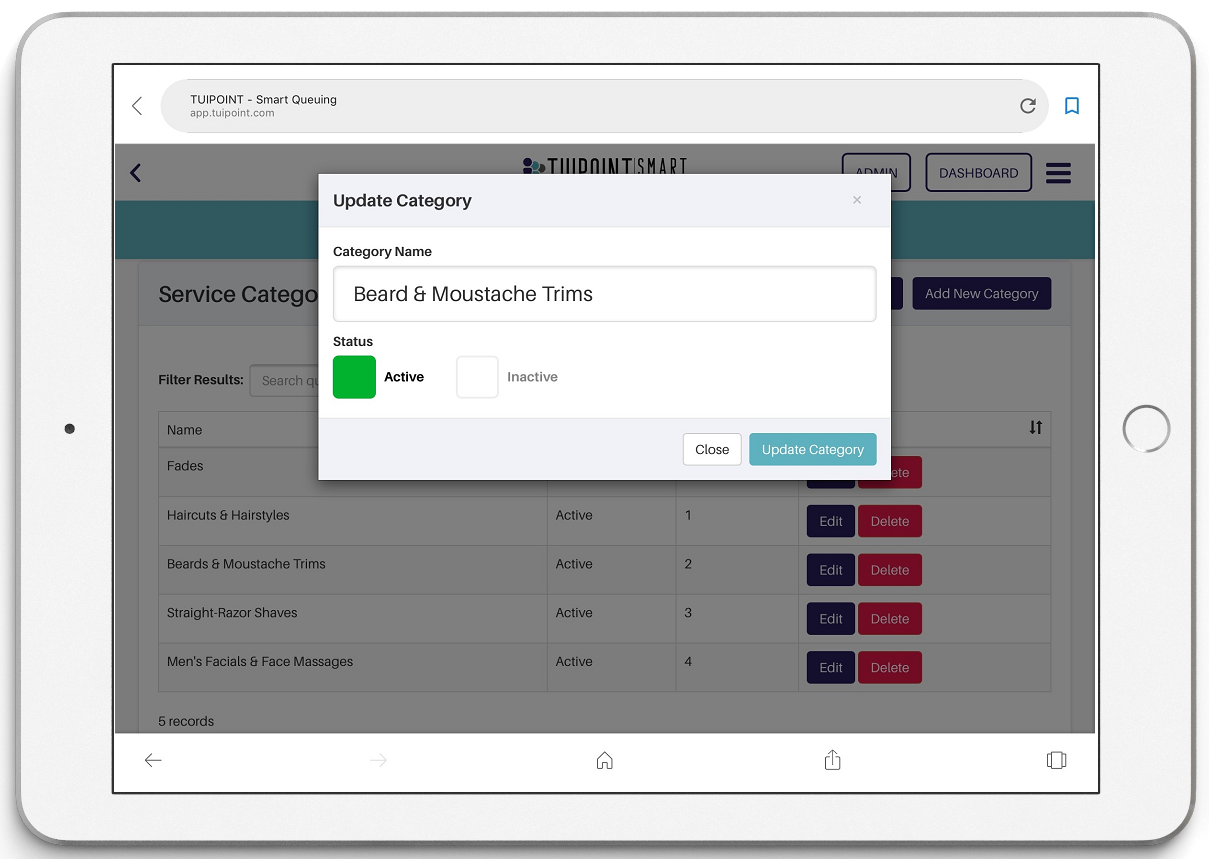
Edit Categories
- Once all your categories have been loaded you can use the “Edit” button under the Actions tab to change the details for a particular category if necessary.


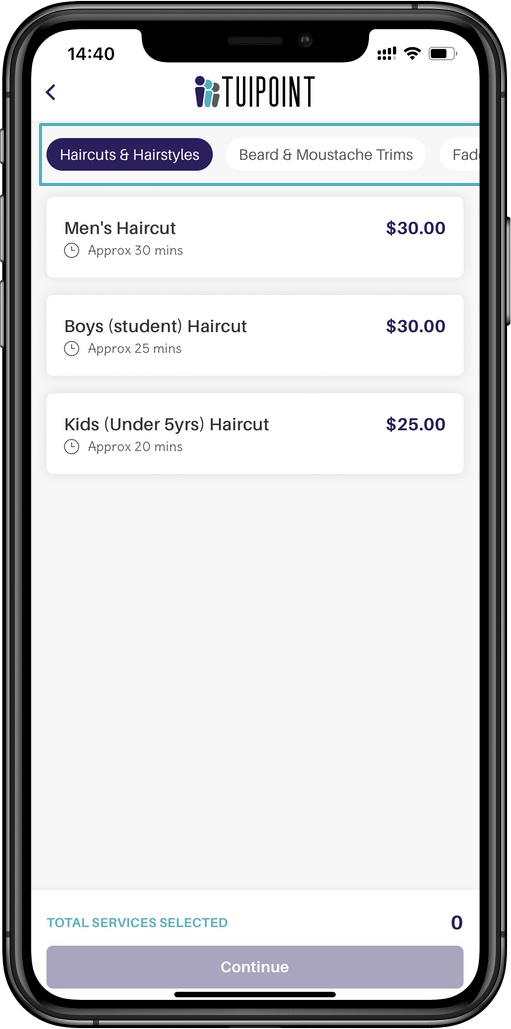
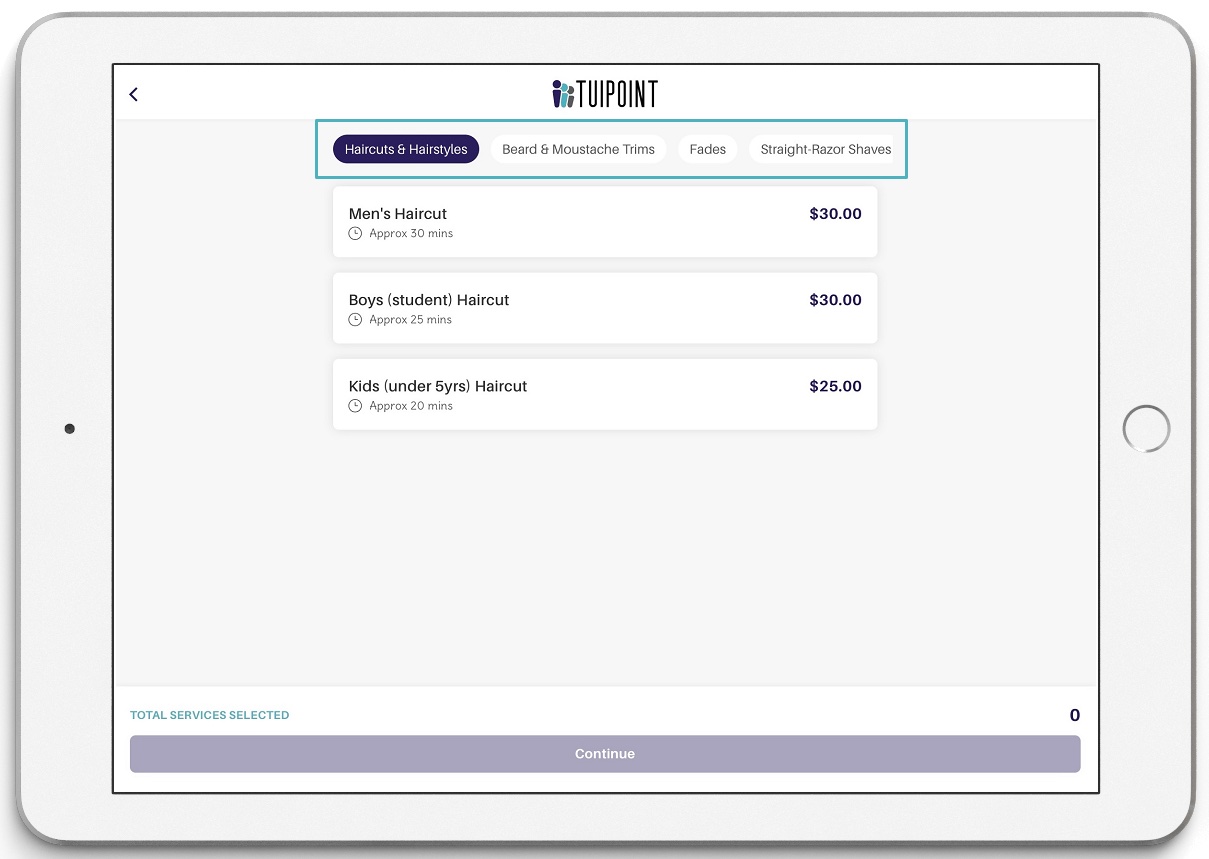
Categories display in Services
- Now that your categories have been loaded you are ready to assign your “Services” to their respective “Categories.” Your Categories will be displayed above your “Services” in the Mobile App and iPad/Tablet.
- Click on a “Category” heading to view the services categorised under that heading.
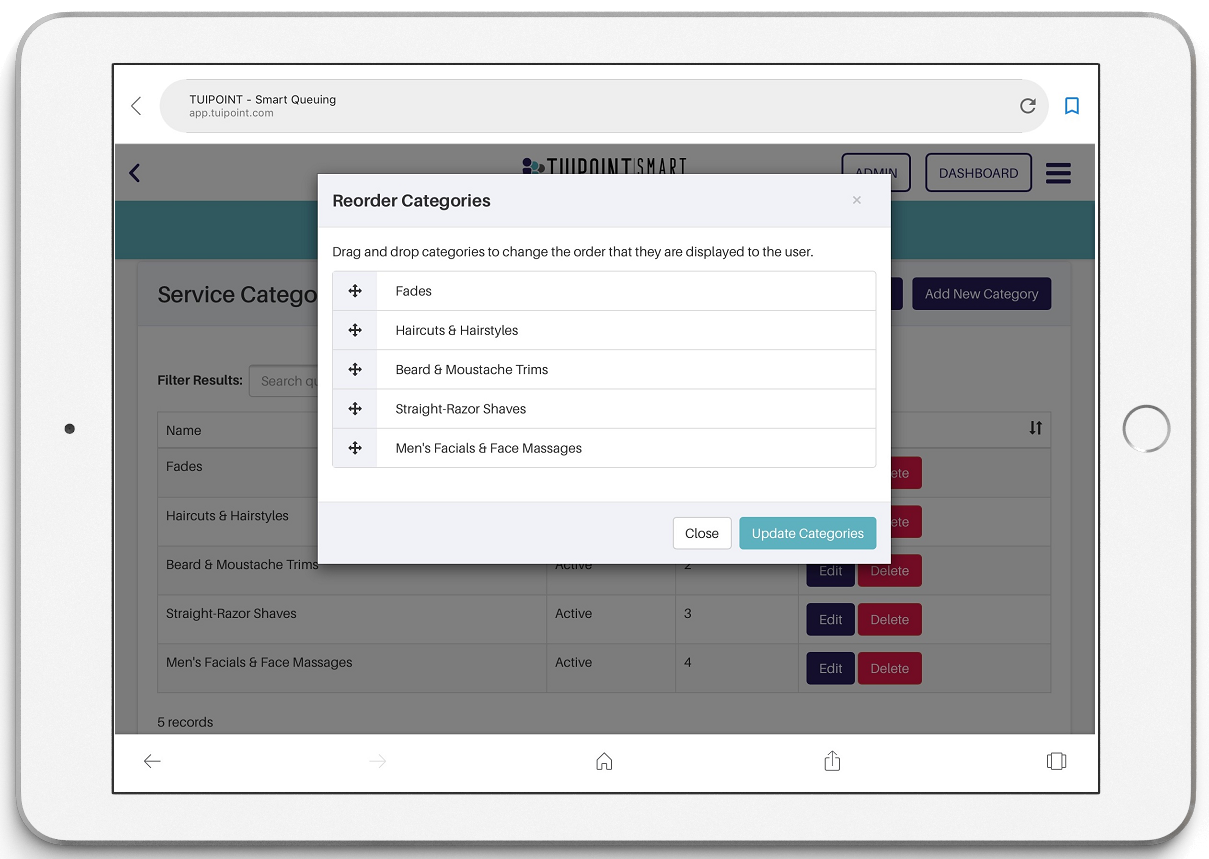
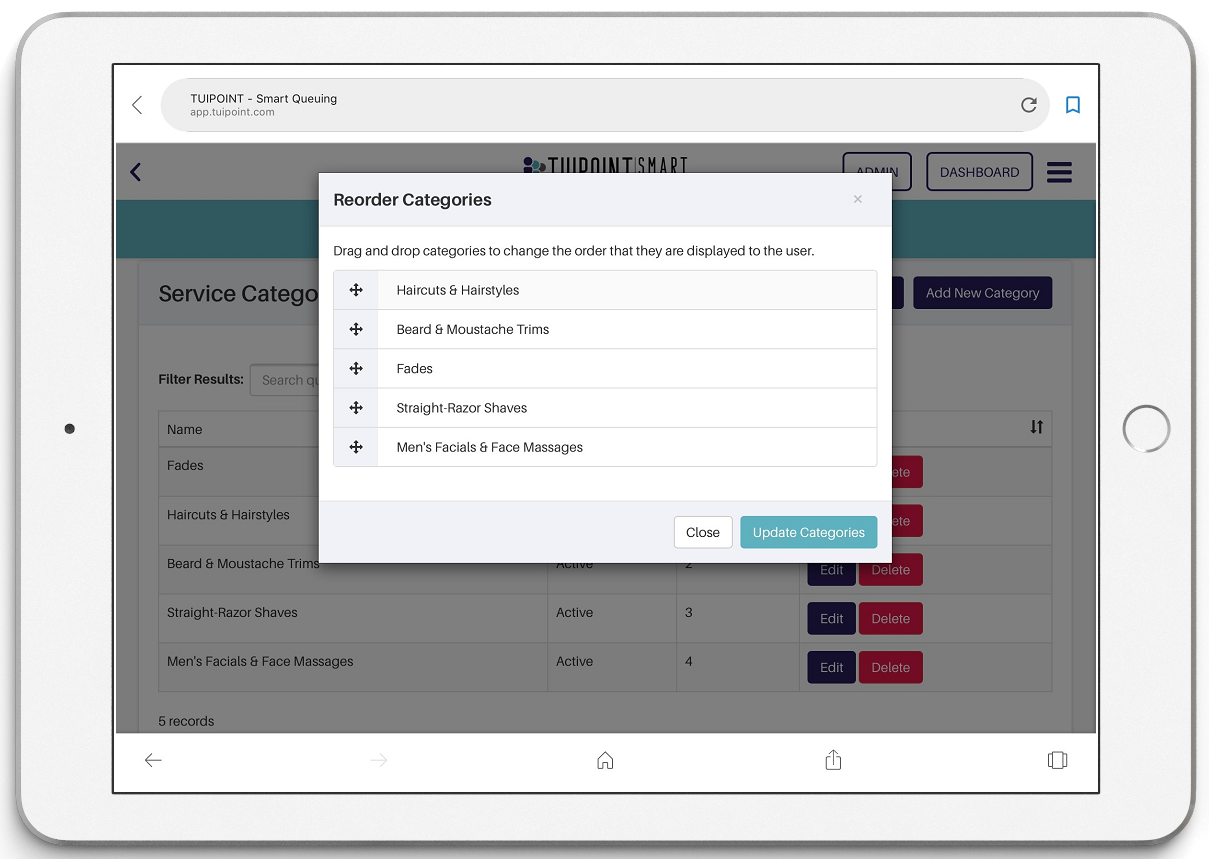
Category Order
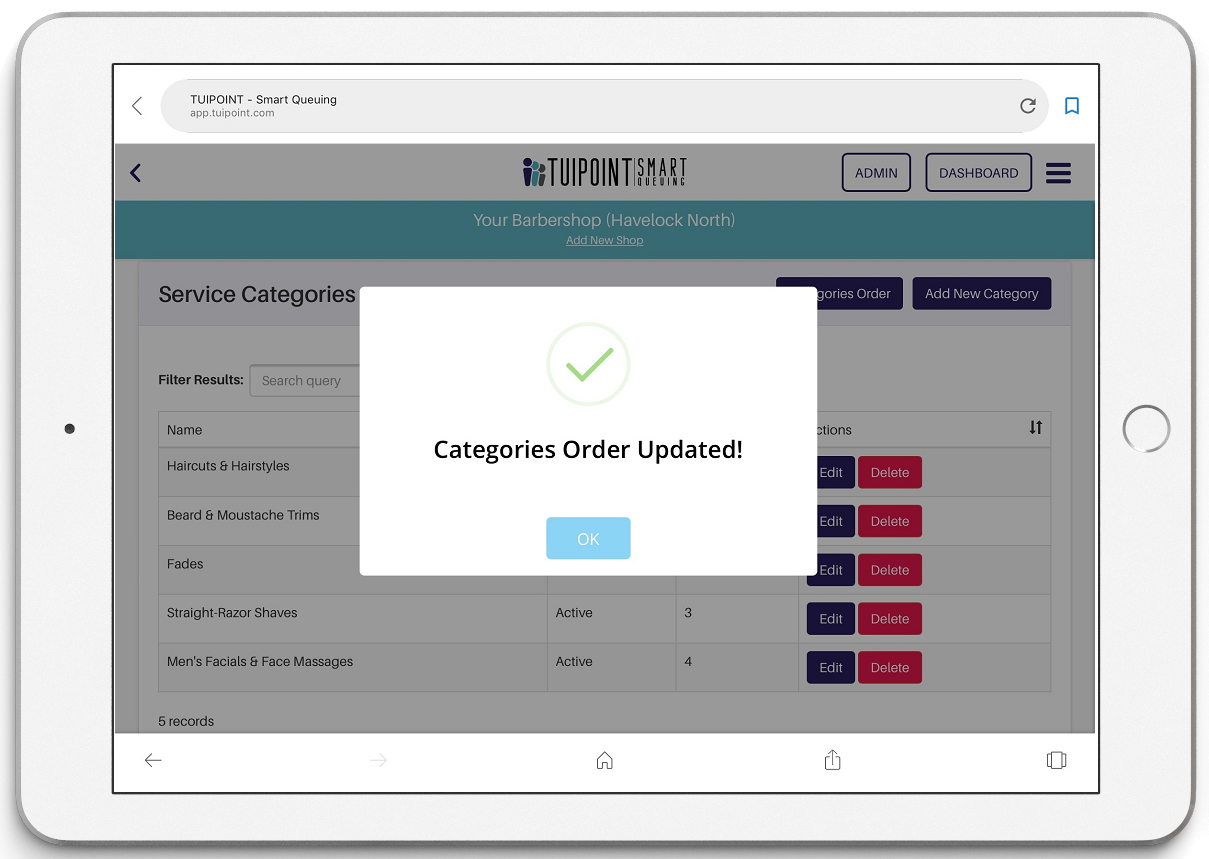
- You can also use the “Category Order” button to prioritise your list of categories so that the most popular options appear first. Simply drag and drop each service into the slot you’d like them to display.

Ⓒ TUIPOINT 2018-2020 – let your Phone queue for you