
Staff
This article will walk you “through” the steps to set up your Staff ready to apply their Services and Working Hours so “they” can start filling their queues.
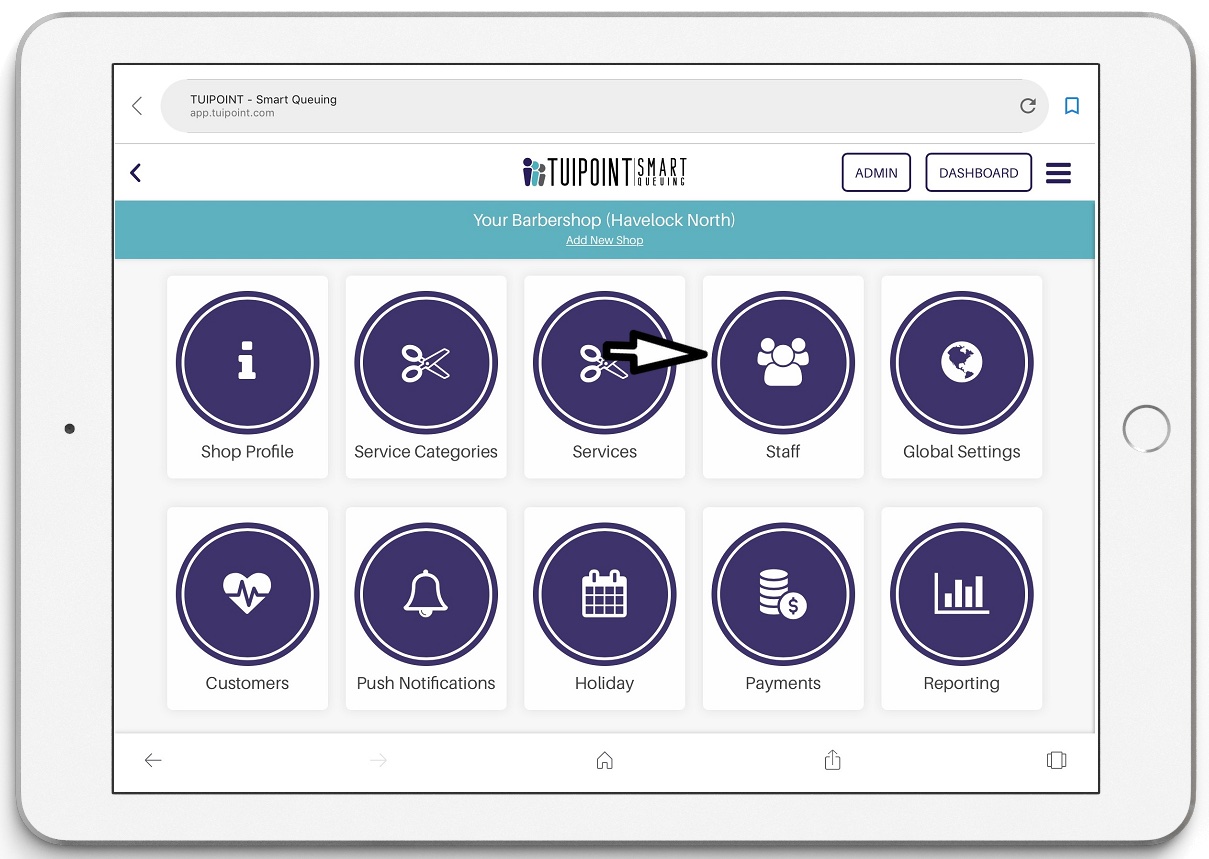
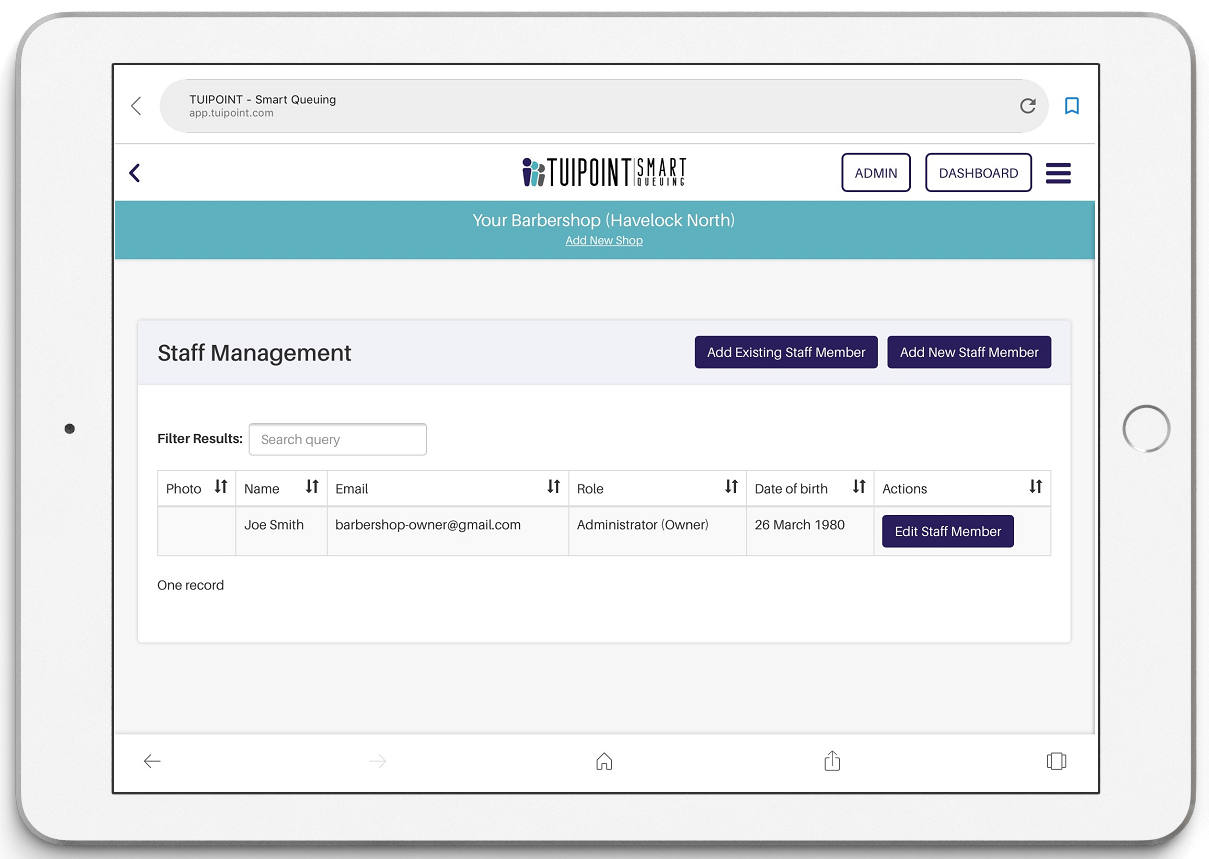
- Click the “Staff” button in the Admin Panel, the Staff Management window will appear. At this point only you as Barbershop Owner will be displayed.
Add Staff member
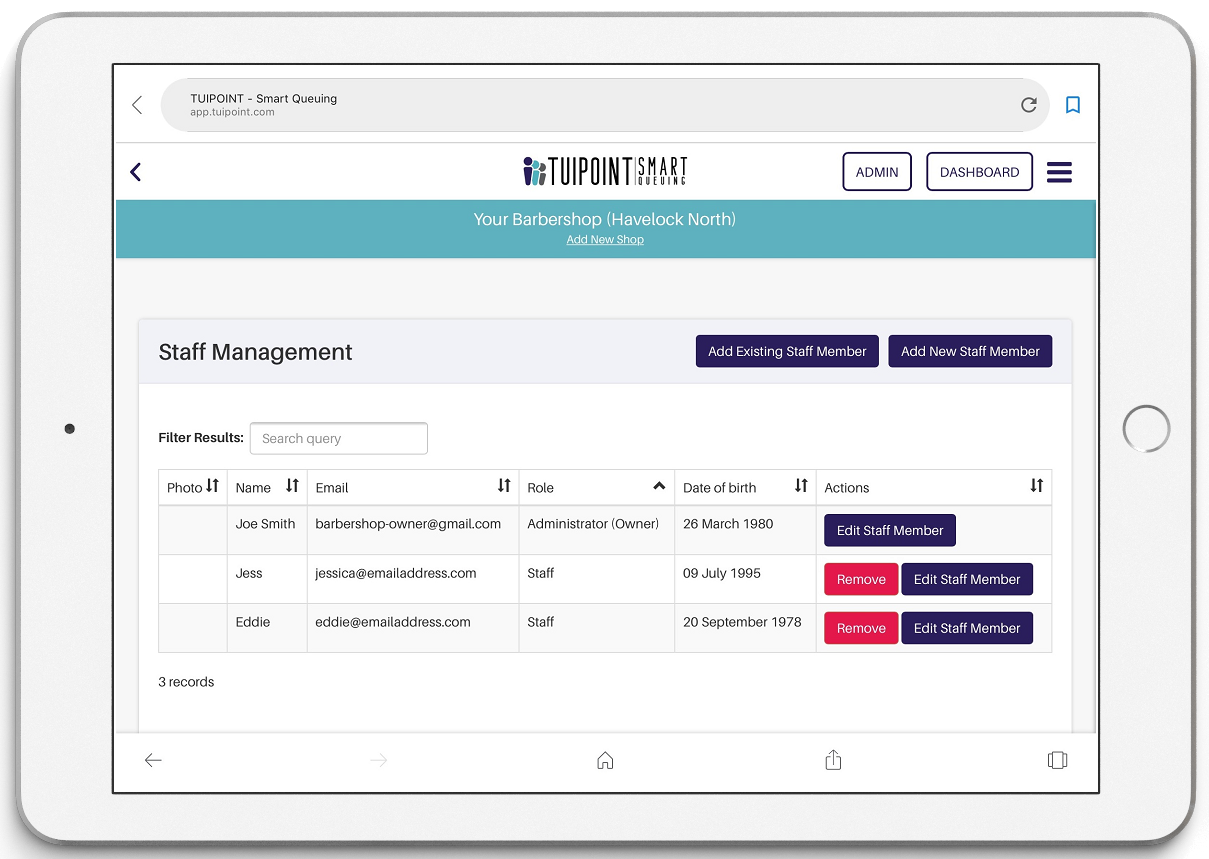
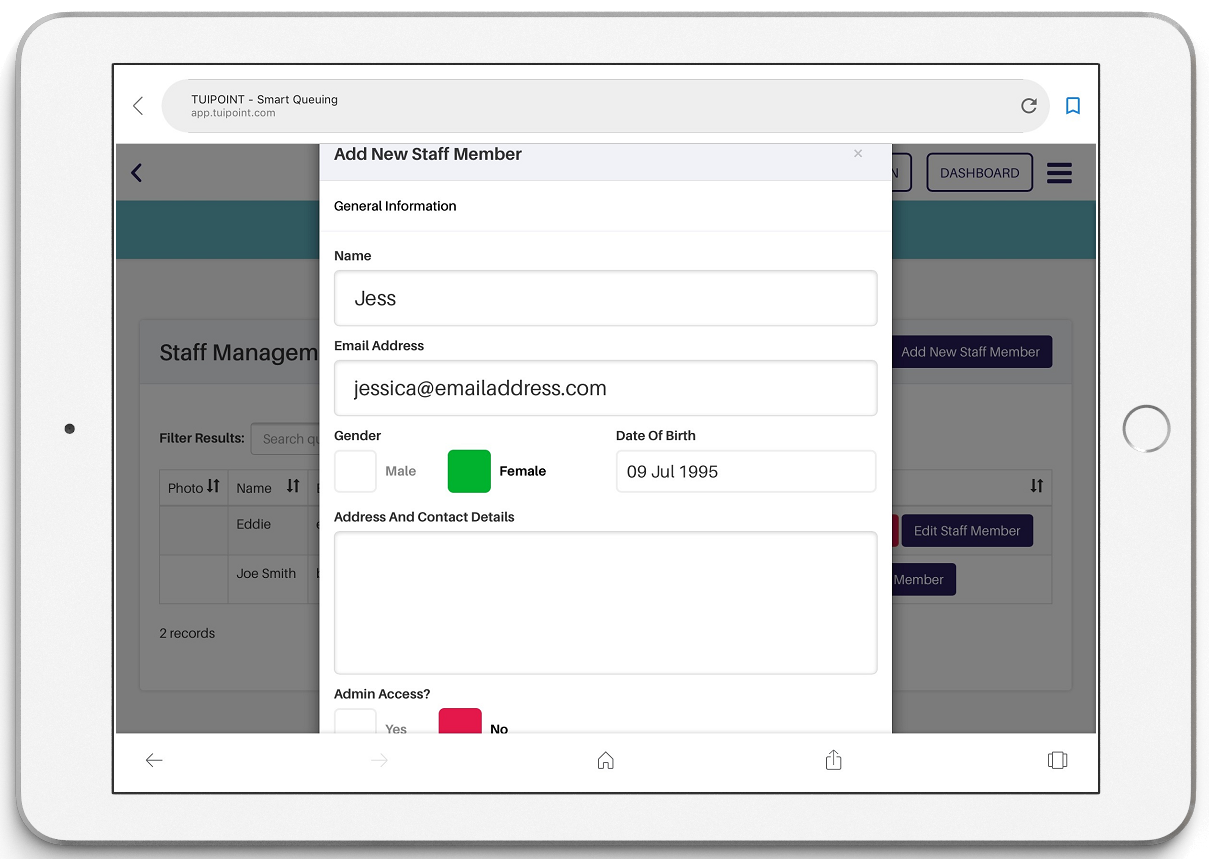
- To add each of your barbers click the “Add New Staff Member” button. Enter their name, email address, confirm their Gender, enter their Date Of Birth and confirm if they are to have Administration Access. Address and Contact Details are optional. Once completed click “Add Staff Member”.
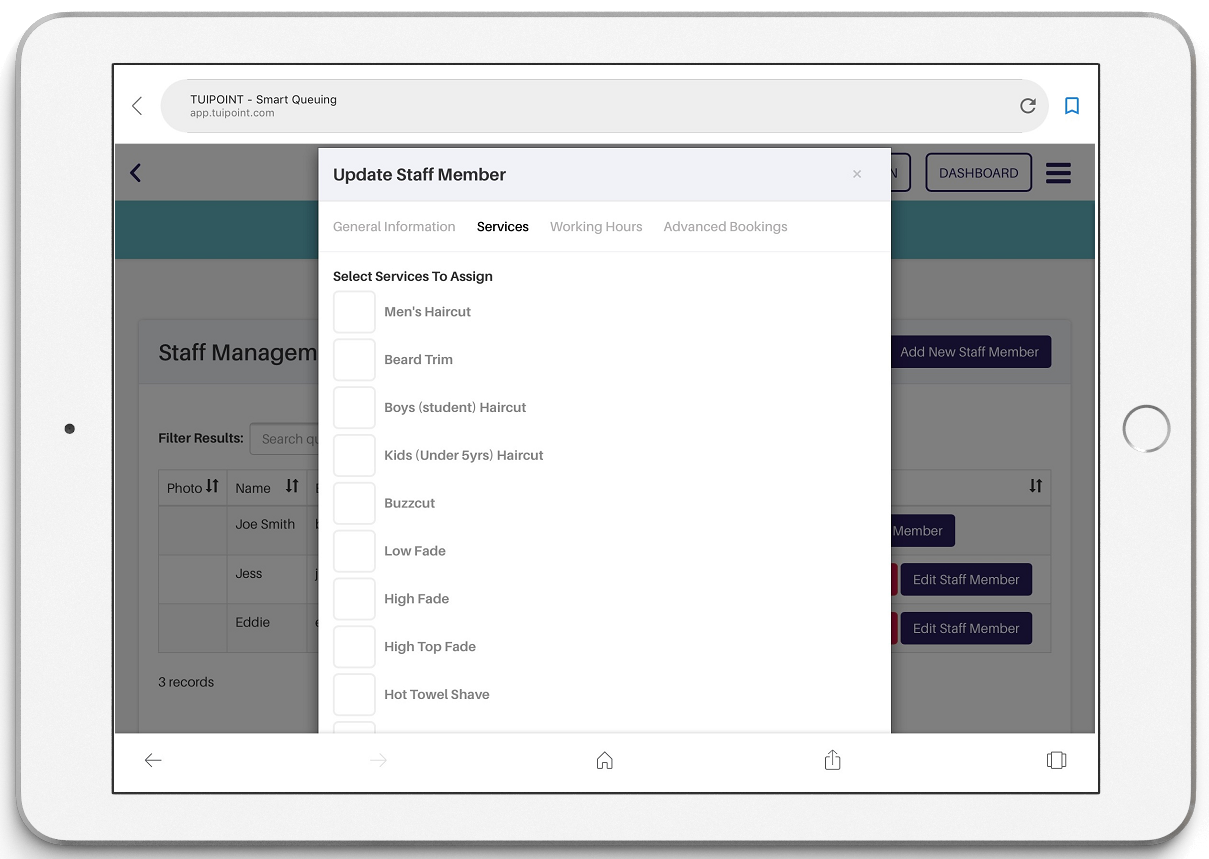
Staff Settings – Confirm services
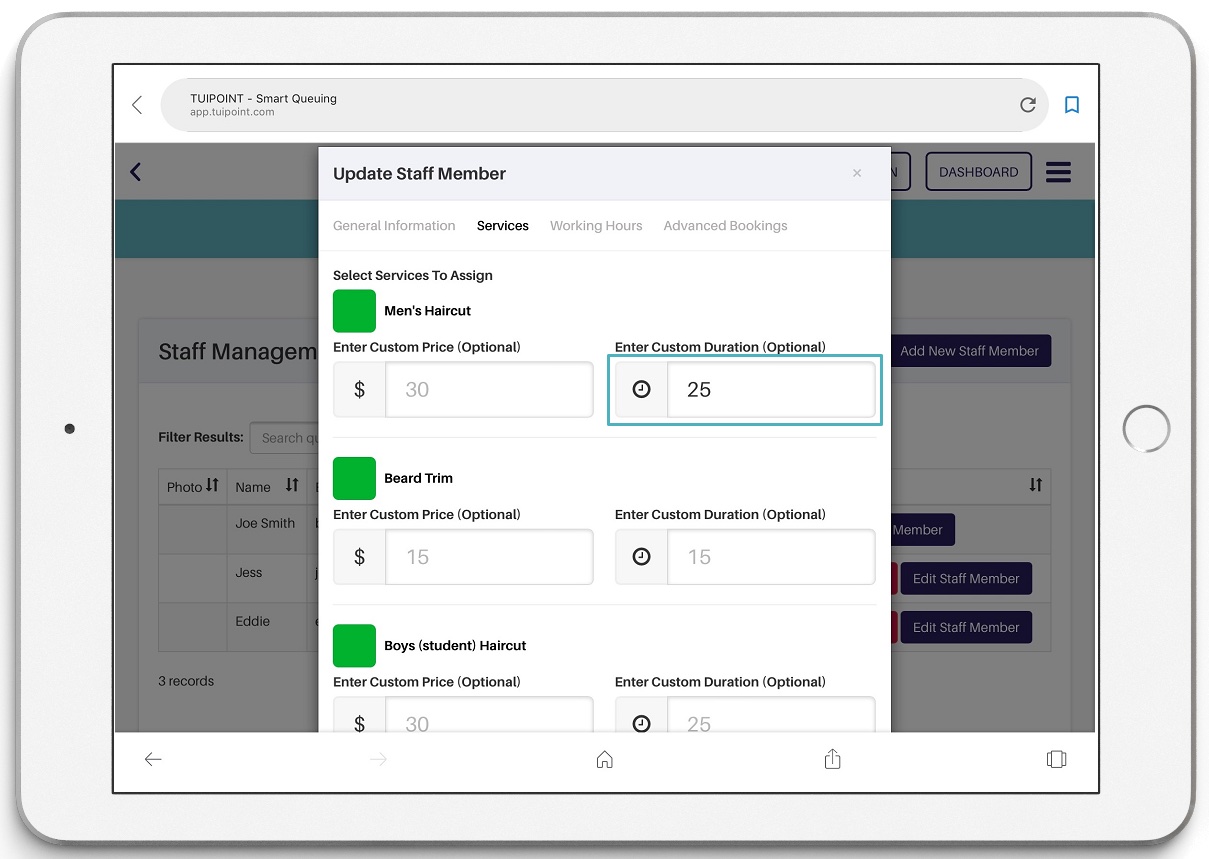
- While still in the Staff Management component click on “Edit Staff Member” then the “Services” tab next to General Information. Click on each service that this barber performs from your menu. This allows you to reflect that not all barbers perform all services. This is also where you can customise price and time settings by service by barber to reflect experience levels and expertise. When completed click “Update Services”.
- Confirm services for all barber Staff.

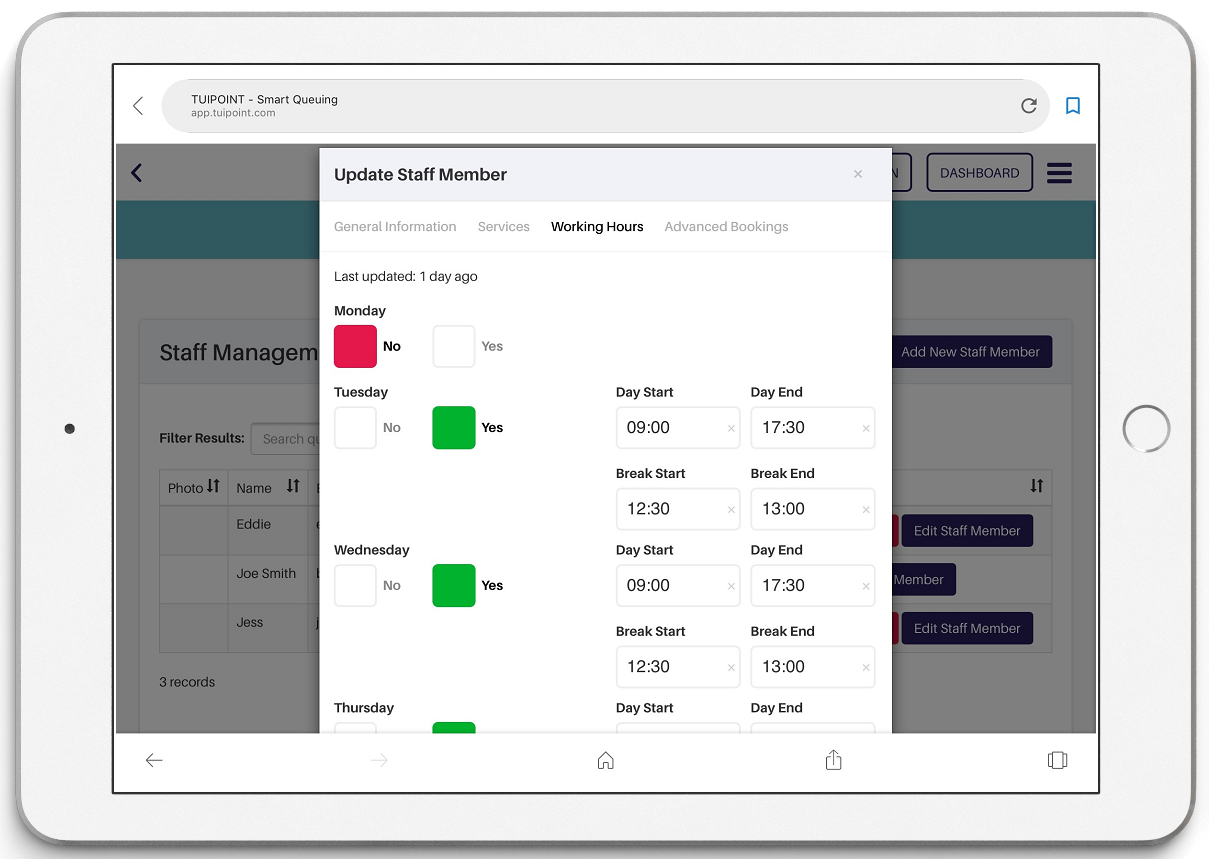
Staff Settings – Working Hours
- While still in the Staff Management component click on “Edit Staff Member” then the “Working Hours” tab next to Services. Confirm the days of work for each staff member and their start and end times. This is also where you can add a lunch break (and make it different for each staff member), enter a break start and end time, this is automatically added to your queue at the start of the day. When completed click “Working Hours”.
- Confirm working hours for all barber Staff.
- The last tab within the “Edit Staff Member” screen is optional and is where barbers can be set up to take “Advanced Bookings” for specific days and a specific time frame. This option is covered in our Operating and Customising Guide.

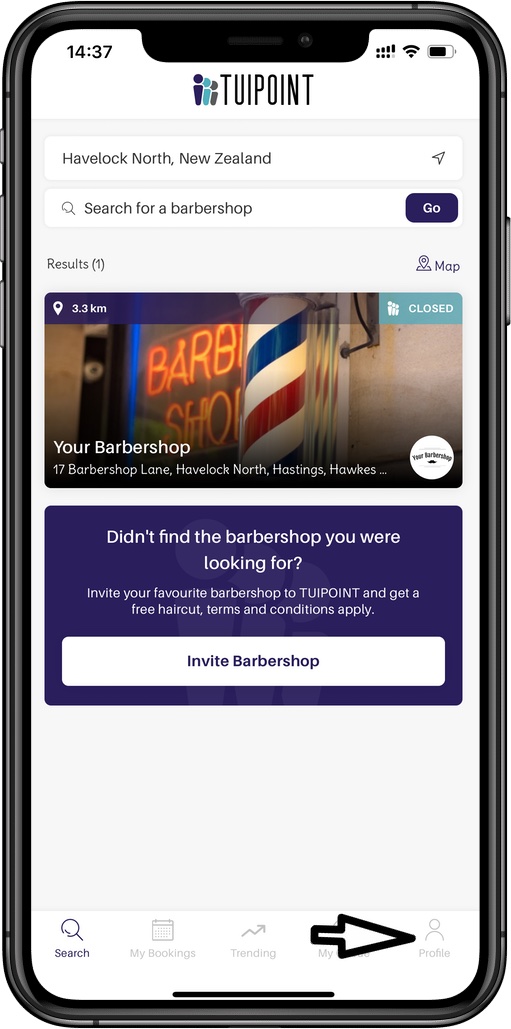
Add a Profile Image
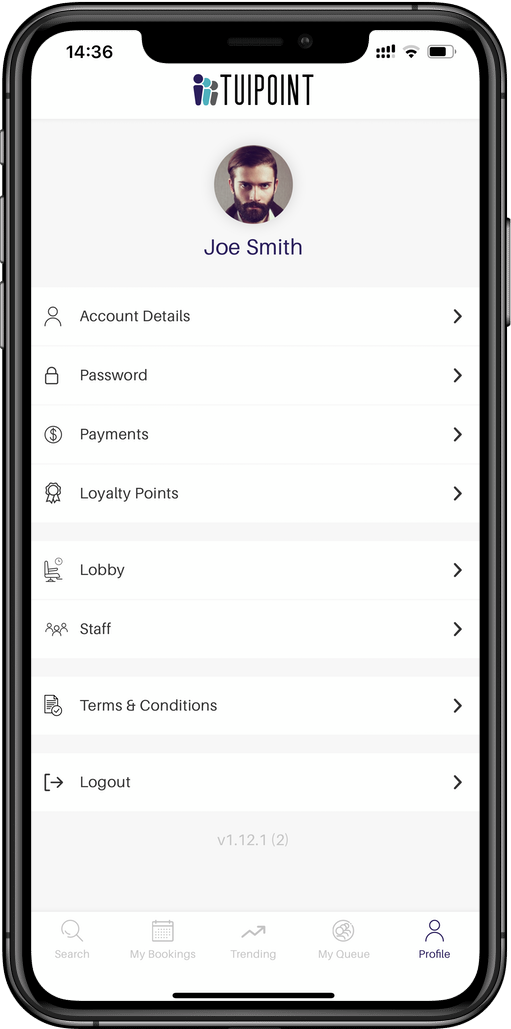
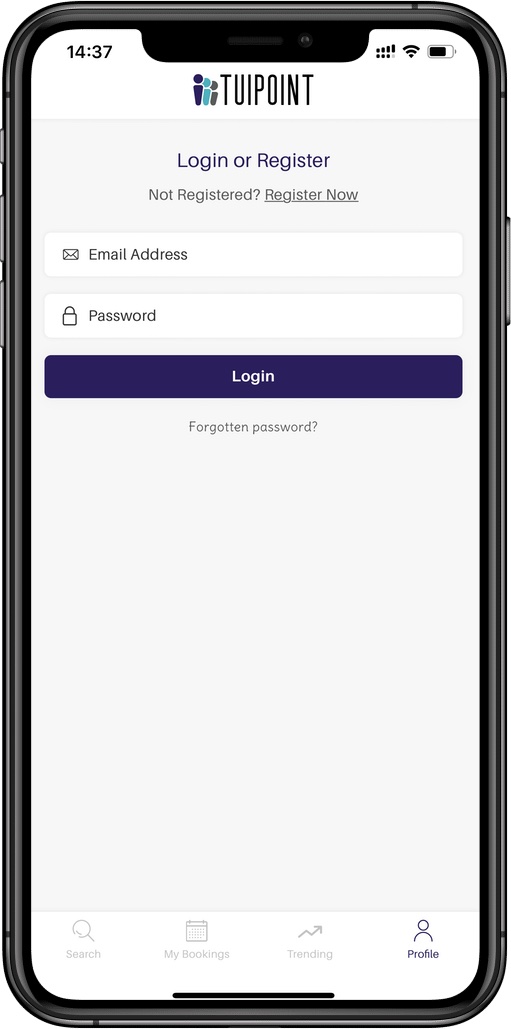
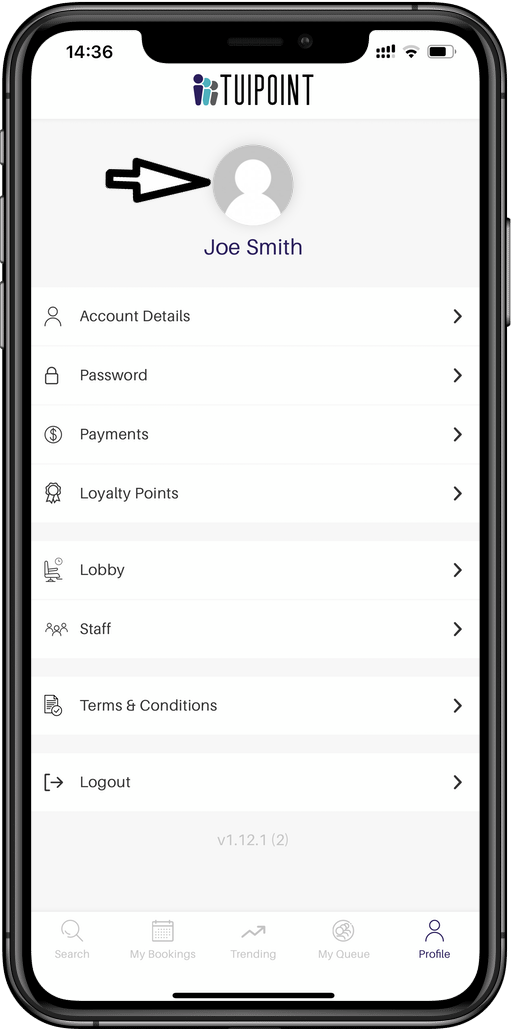
- At this point you can choose to add an image of yourself. If you are a working barber owner then it makes sense to let customers know what you look like, however if you are a non-barbering owner you may wish to leave your image blank. To add an image to your profile, download the Tuipoint App to your mobile device. Open the App and click on the “Profile” tab bottom right, enter your email address and password. Tap on the blank image above your name, this will take you to your photos folder where you can select your photo.
Welcome Email
- Once all barbers are added they will each receive a welcome email from TUIPOINT with a temporary password. Remind them to check for this email as it may go to the spam or junk folders. They will be encouraged to download TUIPOINT from Google Play or the App Store and login with their email address and the password provided. They can then change their password to something easier for them to remember.

Ⓒ TUIPOINT 2018-2020 – let your Phone queue for you